I seem to be using a lot of applique lately. Instead of explaining the applique process in every tutorial, I thought I would whip up a quick tutorial for applique to refer back to in other tutorials.
Applique is great for adding letters or designs to shirts, clothes, fabric, you name it! The first applique I ever did was on these Thing 1 and Thing 2 costume.
It was a simple circle, but I felt like I could take on any applique after that! I was no longer afraid of it and it's a good skill to have in your crafty arsenal!
First off you will need fusible web, two sided interfacing or whatever else it is called. I get Wonder Under at JoAnn's and it does the job just fine.
With fusible web there are two sides, a rough side and a smooth side. You iron the rough side to the wrong side of whatever material you with to applique onto something. After the fusible web is ironed onto the material you can cut out your design then peel off the smooth side and there is another iron-able material to iron the applique onto your object. Makes sense, right? How about pictures!?
First find your designs, I'm free handed these letters and cut them out. You can find templates for letters online with a Google search. I do that more often than free handing, for this design I couldn't find exactly what I wanted online, so I did it myself.
After the letter/design is cut out, cut out enough material to fit them.
Cut out a piece of fusible web that is the size of the fabric, iron the rough side to the back of the fabric.
(Always test a section of the material before ironing it. Some fabrics cannot be ironed directly, if the iron damages the test piece of fabric, use a pressing cloth in between the fabric and the iron.)
Flip the letter over and trace it onto the fusible web. (it never fails! I cut my letter out and realize I needed to do it backwards... so I have to start over!
Cut the letter out of the material/fusible web and remove the backing.
For this one I had two layers, the circle and the letter. I opted to iron on the circle, then iron on the letter, and then sew. For more complex designs I would iron one layer, sew, then iron the second layer and sew. This one turned out ok with only one trip to the sewing machine.
I did this one with a straight stitch. Most people applique with a zig zag stitch, but when I use a zig zag it ends up looking worse, so most of my applique is done with a straight stitch.
Next time I try zig zag applique, I'll update this tutorial :)
Sew right along the edge of the fabric.
I sewed around the edge of the circle then crossed over to the letter.
Whenever you come to a point or square turn, sew almost to the edge, stop with the needle in the fabric, pick up the presser foot and pivot the material.
When you sew along curved edges take it one stitch at a time. Sew one stitch, stop with the needle in the material and pivot the material ever so slightly, do this after ever stitch or two until you've sewn your way around the curve.
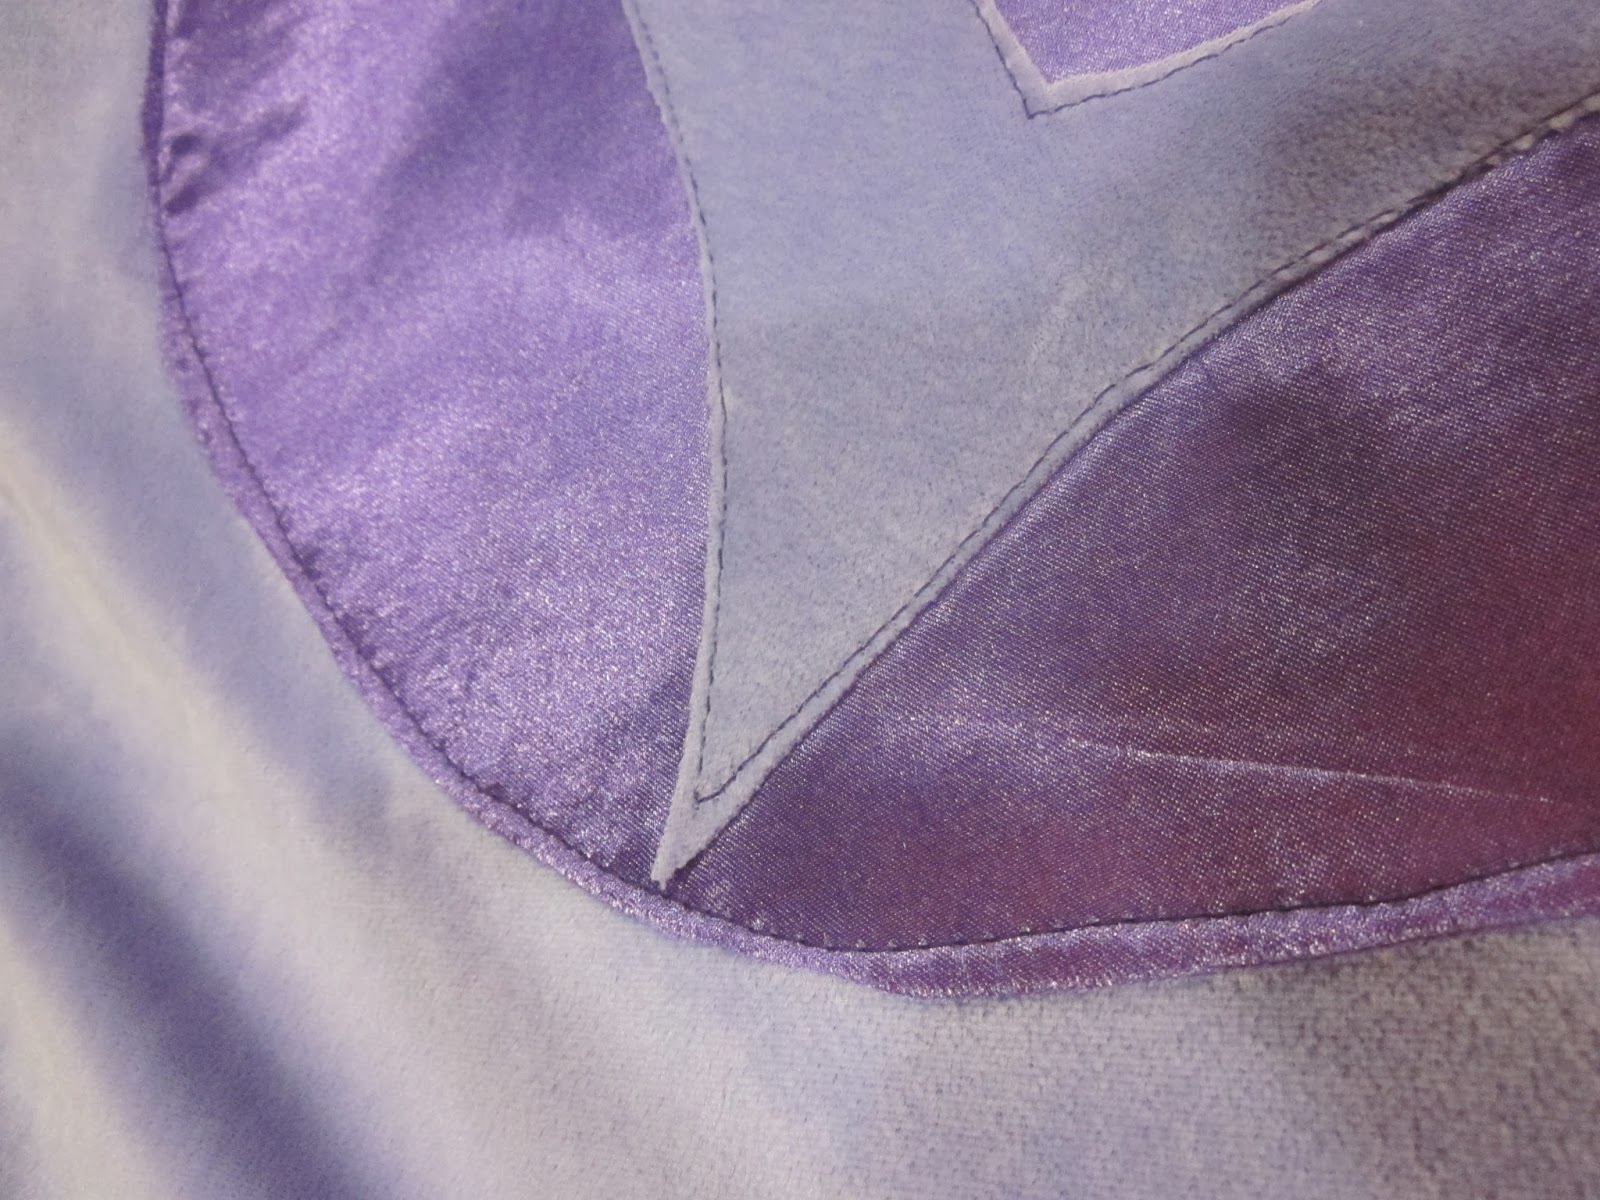
Sew all the way around your applique until you get back where you came from. You can either take a few stitches over your first stitch and back stitch a little, then cut it off the extra. Or you can stop right at the first stitch, pull the loose threads through to the back of the fabric you are appliqueing onto and tie them off. Since I am using a straight stitch I just back stitch and call it good. If you are using zig zag it looks pretty bad when you overlap stitches so you should avoid it.
And the finished product! To see a tutorial for Super Girl Capes click here.


No comments:
Post a Comment