Showing posts with label cape. Show all posts

Thursday, December 26, 2013

Super Hero Dress Up Capes

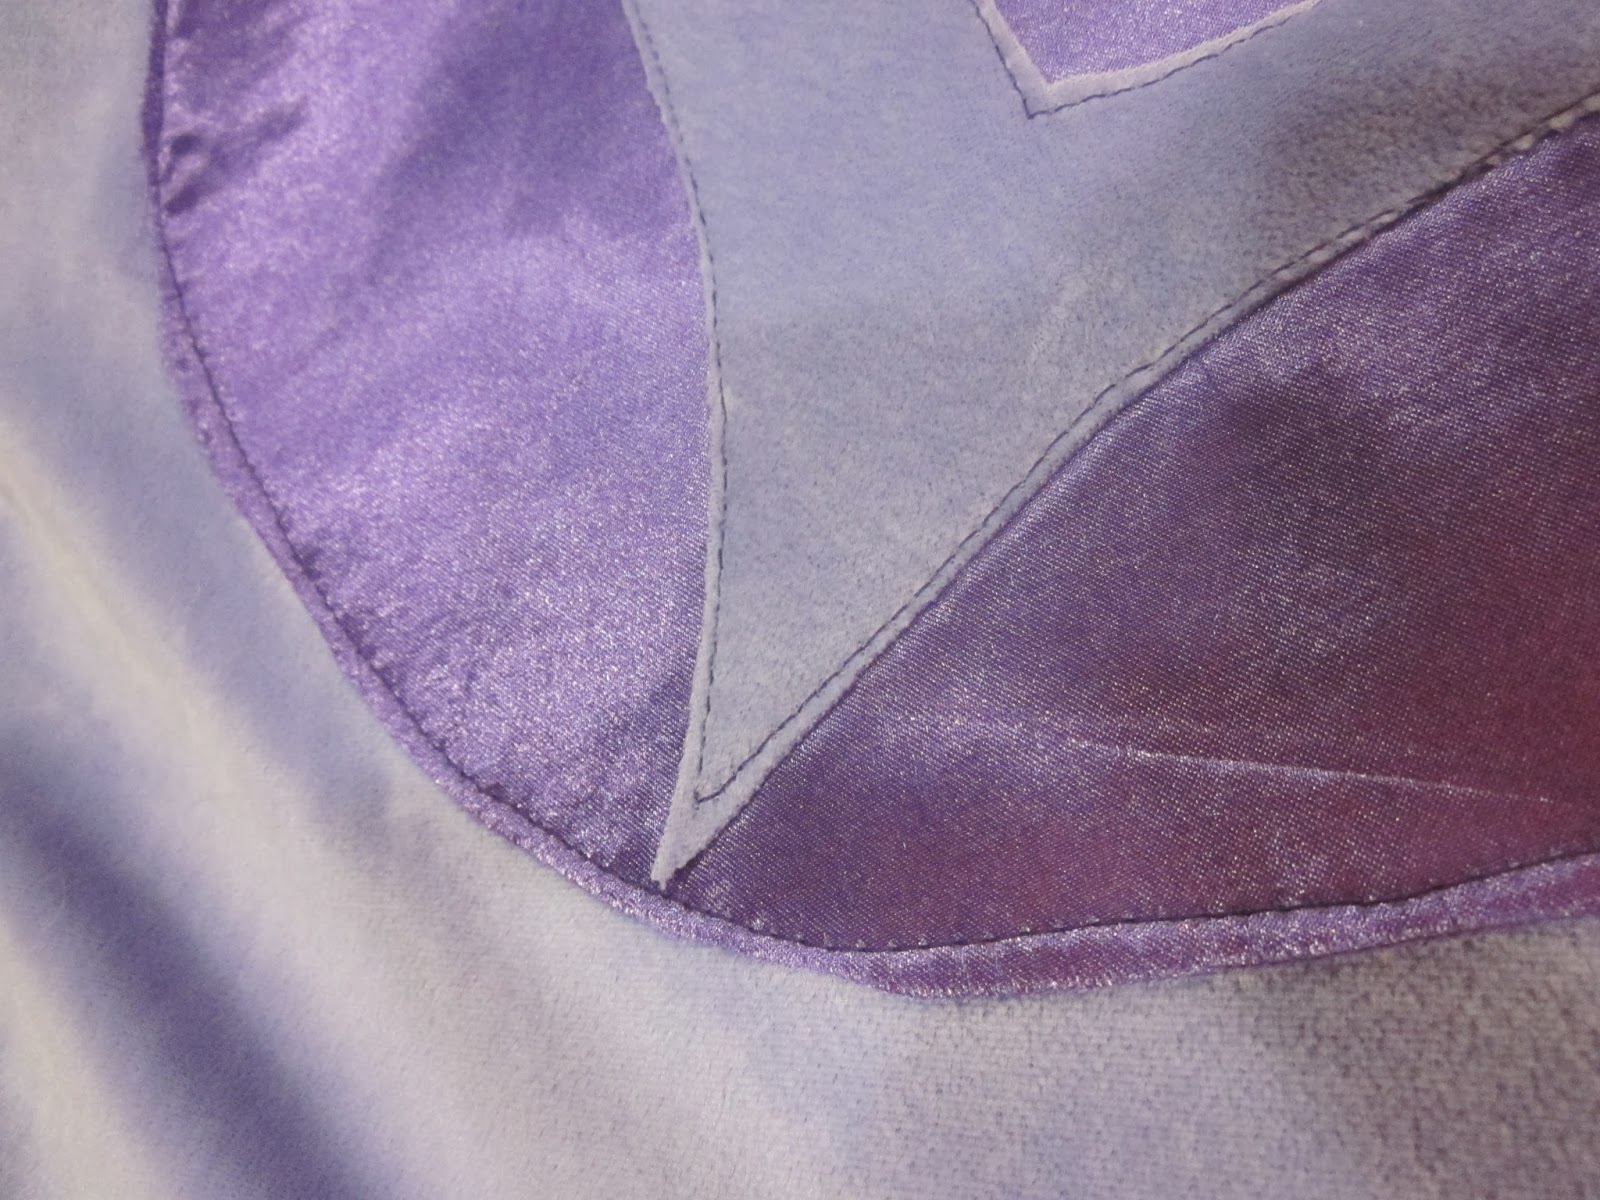
At one point in time, every child has tied a blanket around their neck and pretended to wear a cape. My nieces are no exception to this childhood practice. I decided to make them capes for Christmas, with their own super-girl initials!

You can make these with or without the applique. Without the applique they are pretty simple and quick to make. 

These are a variation I made based on a She-Ra cape that I made for a friend for Halloween. You can make this cape for adults as well. I opted to use Velcro for the neck so that the cape would rip off if it ever got caught on anything. 

Supplies:
Fabric of your choice, size will vary
Matching thread
Bias tape, binding or matching/contrasting fabric for the collar (your choice)

First take measurements. I measured from the neck to the back of the knees and the around the neck.

If you are using fleece or another non-fraying material you can use the exact measurements, if you are using something that will fray, be sure to add 1" to the width and 0.5" to the length to allow for a hem.

Decide how full you want your cape to be, I took the neck measurements and doubled it (and then added a couple more inches) The neck was 11" and my width was about 24".

Cut the material for the measurements you need. Hem around the sides and bottom (if needed), you can leave the top raw.

If you are adding an applique. Add it now. 

Sew a basting stitch along the top of the cape and gather the material until it is about 1" shorter than the neck measurement. 

Collar:
You go several different directions for the collar. You can get double fold bias tape which is already folded and pressed and ready to go for you. This is wonderful stuff! if you are making this cape for an adult you can even leave several inches on each end, sew right along the edge and you have a tie closure. Like I did in this cape:
Not the greatest picture, sorry. I would suggest getting wide bias tape as I had very narrow bias tape and it was a PAIN to cram all of the gathering into the fold and make it look nice. It was my first cape, and it didn't look very pretty if you looked too close... Luckily, SheRa has long hair!

You can also use blanket binding or make your own binding like it did. I wanted the binding to match the applique on the back, so I had to make my own.


You will cut a long, narrow strip for the collar. Take the neck measurement and add 5", this will allow for overlap for the velcro. I choose to make it 5" wide to make the collar wider to allow for room to attach the velcro. This will be folded several times so the collar will only end up being about 1.5"
 Iron the strip in half, lengthwise.
 unfold it and fold each side in 1/2" and press.
Trim a tiny triangle off each corner.
Before folding it in half (lengthwise again), fold the short end over 1/4" then over again another 1/4", press.
Fold it in half and pin it closed at the end to hold all of folds in place until you sew.
 Find the middle of the gathered cape and collar. Line them up.
Put top of cape into collar, pin everything together. Start at a top corner, sew down along the short end, turn and sew along the open edge of the collar, turn and sew up the other short end.
The last thing to do is to add velcro, and you're done!

No actions shots yet because these are still wrapped, under the tree waiting for two little super heroes to open them! :)

Saturday, December 14, 2013

How to Applique

I seem to be using a lot of applique lately. Instead of explaining the applique process in every tutorial, I thought I would whip up a quick tutorial for applique to refer back to in other tutorials. 


Applique is great for adding letters or designs to shirts, clothes, fabric, you name it! The first applique I ever did was on these Thing 1 and Thing 2 costume. 
It was a simple circle, but I felt like I could take on any applique after that! I was no longer afraid of it and it's a good skill to have in your crafty arsenal!

First off you will need fusible web, two sided interfacing or whatever else it is called. I get Wonder Under at JoAnn's and it does the job just fine. 

With fusible web there are two sides, a rough side and a smooth side. You iron the rough side to the wrong side of whatever material you with to applique onto something. After the fusible web is ironed onto the material you can cut out your design then peel off the smooth side and there is another iron-able material to iron the applique onto your object. Makes sense, right? How about pictures!? 

First find your designs, I'm free handed these letters and cut them out. You can find templates for letters online with a Google search. I do that more often than free handing, for this design I couldn't find exactly what I wanted online, so I did it myself.
After the letter/design is cut out, cut out enough material to fit them.
 Cut out a piece of fusible web that is the size of the fabric, iron the rough side to the back of the fabric.
(Always test a section of the material before ironing it. Some fabrics cannot be ironed directly, if the iron damages the test piece of fabric, use a pressing cloth in between the fabric and the iron.)
 Flip the letter over and trace it onto the fusible web. (it never fails! I cut my letter out and realize I needed to do it backwards... so I have to start over!

 Cut the letter out of the material/fusible web and remove the backing.
 For this one I had two layers, the circle and the letter. I opted to iron on the circle, then iron on the letter, and then sew. For more complex designs I would iron one layer, sew, then iron the second layer and sew. This one turned out ok with only one trip to the sewing machine.
 I did this one with a straight stitch. Most people applique with a zig zag stitch, but when I use a zig zag it ends up looking worse, so most of my applique is done with a straight stitch.

Next time I try zig zag applique, I'll update this tutorial :)


 Sew right along the edge of the fabric.
  I sewed around the edge of the circle then crossed over to the letter.
 Whenever you come to a point or square turn, sew almost to the edge, stop with the needle in the fabric, pick up the presser foot and pivot the material.

 When you sew along curved edges take it one stitch at a time. Sew one stitch, stop with the needle in the material and pivot the material ever so slightly, do this after ever stitch or two until you've sewn your way around the curve.
 Sew all the way around your applique until you get back where you came from. You can either take a few stitches over your first stitch and back stitch a little, then cut it off the extra. Or you can stop right at the first stitch, pull the loose threads through to the back of the fabric you are appliqueing onto and tie them off. Since I am using a straight stitch I just back stitch and call it good. If you are using zig zag it looks pretty bad when you overlap stitches so you should avoid it.


 And the finished product! To see a tutorial for Super Girl Capes click here.