Showing posts with label sign. Show all posts

Saturday, July 18, 2015

How to transfer designs onto any canvas, with no artistic talent.

I am have creative talent to spare, but artistic ability... not so much. I get so frustrated sometimes when I'm working on a project and it doesn't come out perfect because my artistic ability is lacking. So I stumbled on this technique a while ago and felt like the internet needs to know about it!


First, find the design that you want to put on your piece. Re-size it on the computer and print it out. I do most of my re-sizing in Paint, it will even print big images onto several pages so you aren't limited to an 8.5"x11" design.
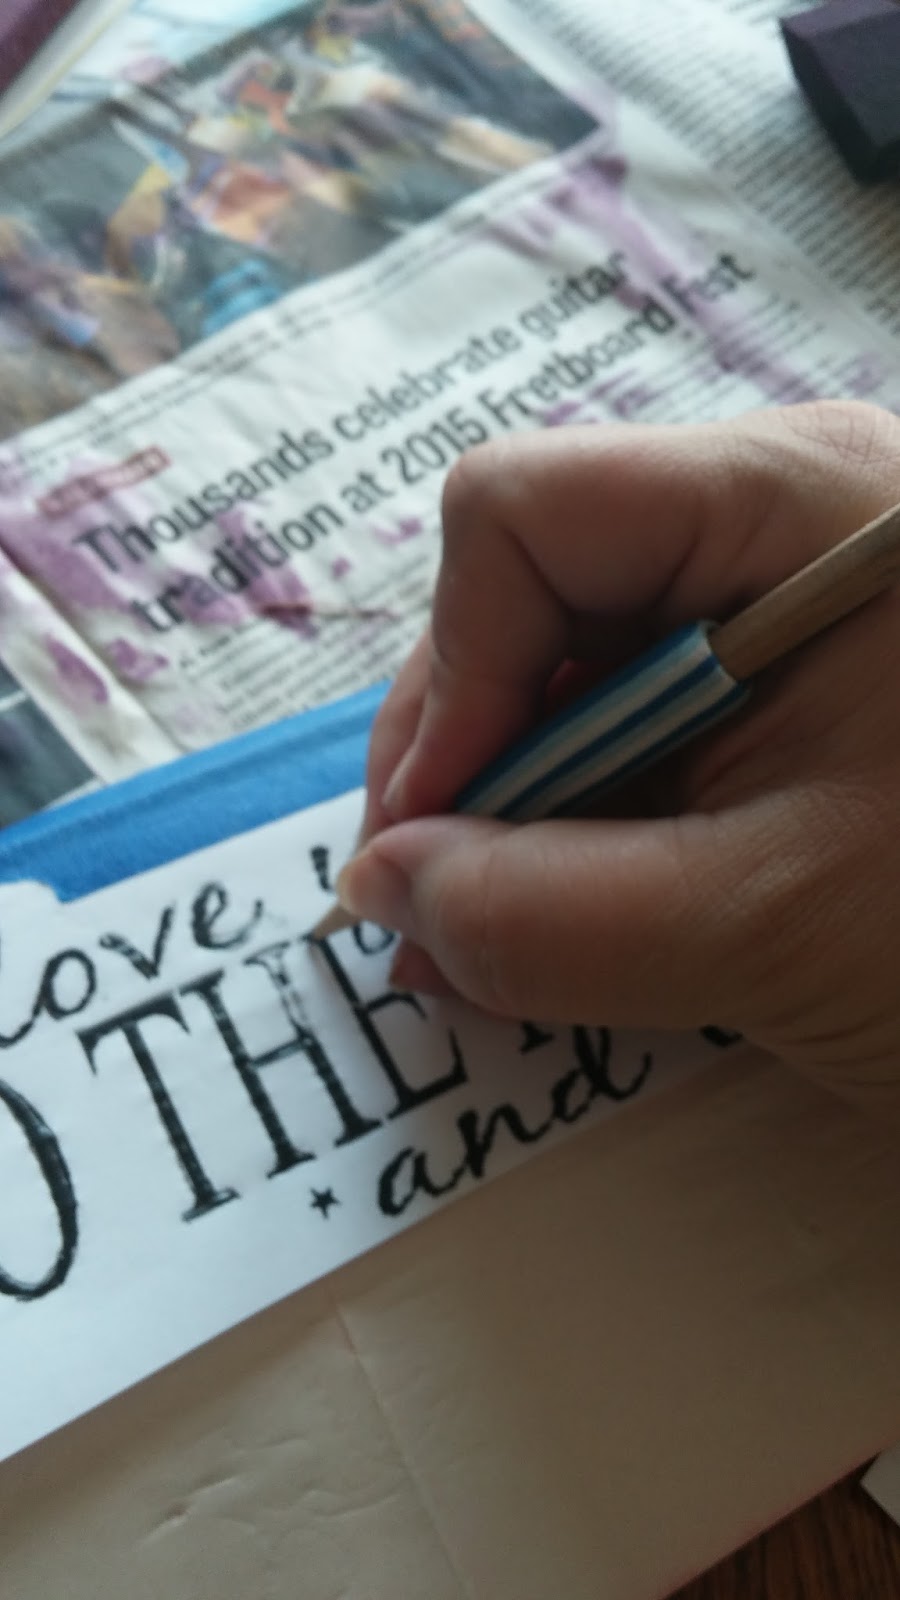

I didn't get a picture of the tracing paper, but you can purchase tracing paper in most craft stores. This is typically used for copying patterns onto fabric (at least that's what I remember using it for in 7th grade Home Ec. class). Place the tracing paper, color side down, on the wood, and place the design, right side up on top of that. Tape it down so it doesn't shift while you trace.


Trace the outline of the design.


After tracing is done, go over the design with your medium of choice. I generally use Sharpie, paint pen, or a fine paint brush. 


It's as easy as that, if you can trace, you can create!

Now go create: 


Pallet Wood Canvas

Here is the tutorial for making a wood canvas for whatever wood art you want. I use fence panels that have been "weathered" in my back yard for years. But you could easily use pallets for this as well. 


Decide on your dimensions and cut your pieces accordingly. I always cut two supports just and little bit narrower than the width of the canvas.


Wood Glue doesn't offer much support when it's wet, but I felt it would help keep it together once it dried. 


I measured depth of the board and doubled it and found nails that were just a hair shorter in length.  When hammered through the back it won't come through the front. No visible hardware. 


 I hammer in 4 nails for each board, and each overlap. That is a lot of nails, but it holds!


That's it! Sand it until the texture is to your liking, then be creative! 


Use eye hooks or drill holes and use twine to hang. Beautiful!


Wood Art

DIY Wood Art

With all of the Pallet projects floating around the internet I got inspired to do my own pallet art. We recently cut our 6ft privacy fence down to a 3ft fence along the back of our property line, because the corn field behind us isn't very nosey. I started crafting with the boards. Armed with a miter saw and a sander, I have been keeping very busy. I've made so much rustic wood art that I don't know what to do with it. Here are some of my creations.


This is our night time saying. I saw this once at a craft fair for $40, I loved it, but I was too cheap to buy it, but I did start saying it to the kids at bed time. 8 years later, I made my own sign $0, bam!

  
Teachers name plats - 2 easy 45 degree cuts and some paint


Smitten with the Mitten! Here are super easy tutorials on how to make the pallet "canvas" and transfer designs onto wood.


Rustic Americana Hanging


The letters didn't come out right, but I love the tree!


Love Birds 


Dandelion, it needs a whimsical saying in the empty spot, suggestions?


Welcome Sign, I need to hang this one!


I was practicing on this piece but I ended up loving the ragged wood


 Everyone loves this saying, I've made several.


I saw this in a shop, ran home and made it myself!


There you have it. I hope this offered some ideas and inspiration. Be sure to check out my post on wood art tutorials here and here